Materials
|
Where to Get
|
copper clad 20cm x 15cm
|
done
|
transparencies
|
done
|
hydrochloric acid
|
done - d’amico
|
hydrogen peroxide
|
done - d’amico
|
photoresist developer
|
amazon- product link
 |
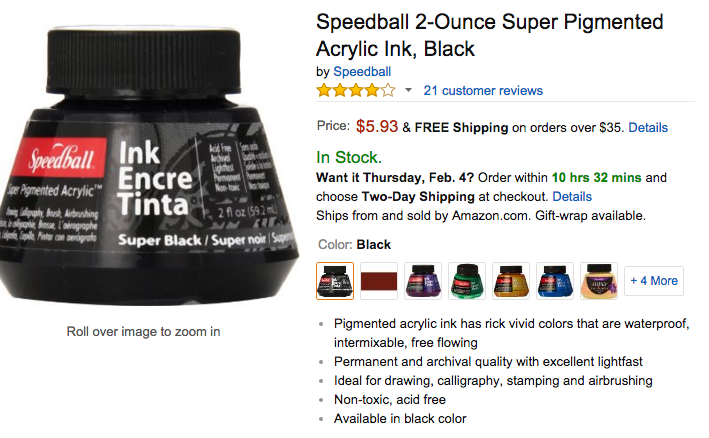
acrylic waterproof black ink
|
amazon - product link
 |
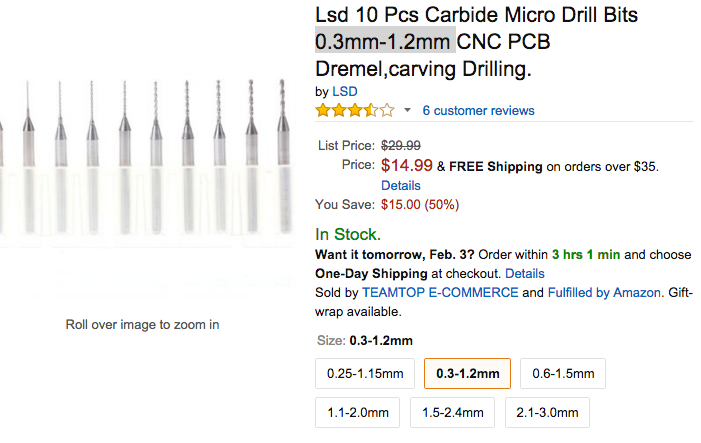
small drill bits
0.25 mm - 1.15 mm
0.3 mm - 1.2 mm
|
amazon - product link
 |
handle driller
|
done?
|
plastic container (small size, small enough for the board)
|  |
a clean tooth brush
|
done
|
rubber gloves
|
school lab
|
a timer
|
done
|
Wednesday, January 27, 2016
Materials
Thursday, January 21, 2016
In Progress PCB Layout (Re-do)

Next step: Wire the pixels, making sure the wire is not too thin.
Conversions
MM --> INCHES
1.02 mm = 0.04"
0.5mm = 0.019685"
2.54mm = 0.1"
5.58mm = 0.22"
10mm = 0.393701"
2.21mm = 0.08700787"

Saturday, January 16, 2016
Similar Idea
Interesting...
https://www.yahoo.com/tech/researchers-develop-braille-kindle-blind-160115335.html
https://www.yahoo.com/tech/researchers-develop-braille-kindle-blind-160115335.html
Friday, January 15, 2016
Thursday, January 14, 2016
Procedure for PCB
Procedure for creating a PCB with etching.
- Procedure Etching a one-sided PCB
- Print the bottom side layer PCB layout on a transparency
- Wash hands to remove oils from hand, do not touch the laser printer with your fingers. Also keep the pages as flat as possible
- Remove packaging from copper clad and make sure you do not touch the surface of the copper clad either because of the same reason from above
- You can cut the copper clad to a small strip for testing
- Use a slightly damp paper towel to clean off residual dust
- Place the copper clad on a flat, strong and heat resistant surface. Set up a clothing iron to the hottest setting (Linen usually has the highest temperature)
- Make sure the copper side of the clad is facing up and the blank is facing down. Align the transparency with the toner facing toward the copper side). Do not move the transparency
- *CAUTIONS* Press hard on the iron on the transparency, which is on top of the copper clad
- Hold the iron on the same spot for one whole minute and make sure the pressure on the copper clad is hard
- For five more minutes, slowly remove the iron but make sure that the paper will not slide on the copper. Leave the cooper clad on the table until it is fully cool down. This is allowing the toner to stick to the copper and prevent getting burns
- After the copper clad is cooled down, place the board in a bucket of cold water and soak for about five minutes. Try to peel the transparent from the board, so that only the toner will leave on the copper clad.
- If you find the copper clad and the toner ink are misaligned, you can use lacquer thinner and paper towel to clean the toner from the copper clad and redo the procedure
Part 2
- Make sure you are at a ventilated place with windows or a fan while you complete the following steps.
- Pour 2 cups of hydrogen peroxide to a plastic container
- Carefully pour 1 cup of Muriatic acid, these are the steps for creating the etching solution
- Make sure that you don’t use any metal containers or stainless steel sinks as tools with this mixture, that would add aggressively etch metal .
- Add the Acid
- Place the copper side up of the board in the plastic container with the homemade etching solution
- Use a soft plastic brush to wipe the board. The copper will begin to dissolve
- It will take about 5 minutes to get all the exposed copper dissolved.
- If you leave the copper clad for too long in the etching mix, the traces will dissolve under the toner that is supposedly protecting them
- *Put on rubber gloves* Carefully take the board out of the etching solution amid rinse the board under warm water for about 1 minute. Wash it clean and dry the board with a paper towel
- The solution should be used up because the copper have been dissolved within the liquid. Throw away the solution by diluting it in a 5-gallon pail of water. The acid level and the copper content will be decreased.
- If you intend to add ground planes on your board, use less etchant when you are making smaller sized boards
- Use lacquer thinner and paper towels to remove any toner left on top of the copper traces. This is to help the copper form oxidizing.
- Drill all holes through the through-hole parts using your choice of PCB drill bits and rotary tools.
Subscribe to:
Comments (Atom)